Showing posts with label better photos. Show all posts

Thursday, January 1, 2009

My tips, hints and thoughts on photography

This is where I will collect all of the how to articles created by me. These are my thoughts and things I wanted to share about photography. I've moved the incomplete list that was located at the sidebar, and replaced it with a single link. I will update the list as I continue to share.

Thinking about wedding photography? Here somethings I learned shooting with a Pro Wedding photographer: Second Shooter for Scott Jarvie

Want to get better looking skies? Here is what I do to get better looking skies: Better looking skies

This tip is a quick tool to help see how other people took their photos: Exif viewer

I get occasional e-mails about my gear, what I use and how I use it. Learn more about what I use here: My Gear and how I use it

A tutorial I wrote after a month of taking self portraits. Here is what I learned with some great looking photos of me: Better Self Portraits.

Cameras are getting better, but there are still times when the cameras built in meter will get it wrong. Watching a few of the built in tools of your camera can help get better exposure. This is the way I watch my exposure.

Short on money, well you’re not alone. Instead of buying a macro studio try out an old milk container. Macro studio on zero budget

This photo generated a lot of interest, and here I explain exactly what I did to get the star trails and share a short story of a camping adventure at the same time. Natures Independence Day show.

I missed the Utahphotowalking group in June. So I had a chance to explore a little. Plus I talk about a little about some light painting I did. Photowalking June at the Great Salt Lake.

A video clip from Dove about true beauty and how digital photography may have distorted our view of beauty. The drastic makeover

One way to quickly figure out how a portrait was lit. Reverse engineer light

A quick little discussion on my photographic state of mind and what I did to get over a photo rut I was going through.Creativity boost

Very basic explanation of soft versus hard light, and how to find the light. lighting quality

A very basic explanation of the things like shutter speed, aperture, ISO (sensitivity) and how it all works in setting exposure and the look of the photo. More about taking better pictures

Early example of me trying to create better portraits by simply changing my perspective. How to take better portraits

Sunday, August 3, 2008

Getting better exposure

I use lots of manual metering but I usually use Aperture priority. One thing that I have learned is that it is really easy to fool the camera’s built in light meter. When I shoot (all modes including manual), I watch two things in the camera, the blinking highlights and my histogram. I try to get as much info to the right as possible without blowing out important details.


The reason to do this is two fold. First it just plain looks good especially when shooting portrait style pics. Making sure that the scene is exposed correctly is what separates the average from the better. Second, due to the way that a camera sensor captures data, the first half of the data bits is used to capture the first upper tier of light information. Confusing?

I will put it this way; say that your camera can capture 8 stops worth of light (see here if you are confused by the word stop of light). The camera captures that 8 stops by dividing its bits (data) into 8 different segments one for each stop. The catch is this, it isn’t an equal division instead the camera keeps ½ of the data for the first stop of light, in this case the brightest stop. Then it gives half of what is left for the next stop of light and so on. Imagine you only had 256 bits of data for your image the 256 bits would be broken up like this:

Brightest
Stop1 - 128 data bits
Stop2 - 64
Stop3 - 32
Stop4 - 16
Stop5 - 8
Stop6 - 4
Stop7 - 2
Stop8 - 1
Darkest

First thing to notice is that there is not much data for the last stops (dark areas). Another thing to keep in mind, if you try to bring up the light level in post you will often get a lot of noise, but decreasing light level in post isn’t such a big deal (as long as it isn’t by a lot). Part of the reason for this is that you just don’t have much data in those dark areas. There isn’t any detail to retrieve in the darkest regions.


I don’t know for a fact but I am sure that any DSLR will have at least a luminance histogram. Here is the next secret when using that histogram, or watching the blinking highlights. In order for that luminance histogram to be accurate you need to be at the right white balance setting. If not you may be loosing data that you didn’t know was there.


Last thing to keep in mind is that histograms come in all shapes and sizes. There are times when you want the histogram to be at the very left end of the spectrum. Don’t worry about the shape or how well the histogram is filled out. The histogram is just a helpful feature, not an exact measure but is a guide that requires personal interpretation. Other times you may want a histogram that clips at the right end, like when you have shiny metal objects in the image or something bright like the sun. Just remember to have fun...

Sunday, January 20, 2008

Creativity boost (It is not about your camera)

For a little while I felt like I was falling into a rut with my photography. I was a bit frustrated with some of the results I was getting and felt like my equipment was holding me back. Well equipment is a small part of the problem, but the big problem was me. I was thinking inside the box. I wasn't thinking how to use what I have but to get the look I wanted but was thinking about what I thought I needed to achieve the look I wanted (was that a mouth full or what?)......

My whole mental state I had was one that impeded me from using the one free gift that everyone has in their arsenal, whether it be the pro with the wizbang fancy equipment, or the modest simple "point and shoot" carried by the novice but enthusiastic photographer. Lately I have been trying to focus on taking new shots, experimenting and really stretching myself. I am trying to focus on things that will make me grow as a photographer, not as a gear head.

Mirror mirror on the wall, where did my hair go?

Ok, I know that the model in these photos is not the chiseled hunk you are used to but I wanted to try some new concepts. I wanted to have some photos in my portfolio for future use as stock photography. I wanted images that tell a story....

To shave or just go!

The thing is that my equipment is not really the limiting factor (though it does make things a little harder) but my imagination is. There is always a way to get an interesting photo from any situation if you just think things through a little harder. That thinking makes you that much better in the long run. The great photographers can make great photos with a pin hole in a box and a roll of film. They now how to maximize what is available.

Part of it all has been searching for inspiration. Trying a new look or technique...

Calm

Interogation

Part of it has been trying to figure out how to tell that story...

Dad getting beat at Xbox

Time to relax

The last two photos were fun. We are holding Xbox controllers but we really were watching Thomas the tank engine. Yup I have those shows memorized.

So is there a moral to the story? It is all in the name of the post and that is... It is not about the camera but how you use it! Now if I could just find more time to do shoot the list of ideas that I have come up with.... Oh ya and I need a willing model!

Sunday, September 9, 2007

More about taking better pictures: Understanding Exposure & Learning how to use that cool camera!

So I am back with a little more of the blind leading the blind. Everyone ready? Get that cane a moving we are going full steam ahead!

My first tip is to get that camera out of Auto mode as soon as you feel comfortable with how to zoom, and where the shutter button is. Once you take the camera out of auto you are effectively beginning to make decisions about what the photo situation is and what you want the camera to do. Most all cameras have an assortment of controls that work to change settings according to your situation. Try using some of those and see how you like them. For instances if you are photographing fast action events, the sports mode might be the perfect setting for you to use. If you are taking portraits then you could use the portrait setting and tada your camera settings will optimize for a portrait. What does the camera do when you move to those other modes? I really don't know as I never use them but try them out as you may just find they are what you are looking for. I personally am a bit of a control freak. I want my pictures to look a certain way and want to understand completely how to achieve the affect that I want. If this is to much then try out those modes that I talked about. I am positive you will see improvements, and will begin understand better how your camera works and, this is a very good thing.

For those who want to learn a little more read on!

Most cameras have Four special settings that are really all you need. These four settings give you all the creative control you could ever want! Here are the four modes that I use the most:


  • P which is the flexible program mode. This mode sets the exposure automatically (a bit like auto mode) but allows you to change the aperture and shutter speed to any combination that gives your set exposure. This mode is useful as it allows you to control a plethora of other features that you can't access while in Auto mode (more about what aperture and shutter speed are listed in the modes that control those particular items).


  • A or Av which is aperture priority mode. You set the aperture size and the the shutter speed is matched to give correct exposure. Aperture is the size of the hole that lets in light to the sensor in the camera. It functions much like the iris does for for your eyes. A smaller hole lets in less light and a larger hole lets in more light (there are other important functions of the aperture which will be discussed in detail later).


  • S or Tv which is the shutter speed mode. You set the shutter speed and the camera adjusts the aperture to give the correct exposure. This is the amount of time that the sensor is exposed to the light. Unlike our eyes where we allow a continous stream of light the camera captures a frame of light (the sensor is exposed to the scene for a set amount of time). When light is low then we end up with a long amount of time for the shutter to be open. When we have our shutter open for long periods of time blur due to motion may occur. The motion may be from motion of the subject (like an active kid) or from the camera person not holding the camera steady (like someone taking a picture while while suffering from early stages of hypothermia).


  • M which is manual mode. You set aperture and shutter speed, the camera does not change any settings to adjust for exposure (This is the mode I use +75% of the time).

All this information may bring the question: what do you mean by correct exposure? Well this is actually dependent on the photographer. Perhaps it is best to describe it as the brightness (or lack there of) that we see things with our own eyes. Correct exposure would be to make light levels in the photo mimic real life. Sometimes when we chose a different exposure than what we would see with our eyes we get really interesting results.

To understand exposure better here is a little example. Imagine you were to take a picture with your camera in P mode, and your camera reads the correct exposure as:

ISOShutter speedAperture
1001/1008.0


The occassion is your childs surfing match. You know as does everyone that in order to capture the action of a sporting event you should make sure your shutter speed is fast like 1/500 of a second. So what options do we have to increase the shutter speed? If we open up the aperture we can gain shutter speed or we could increase the ISO which would give us an increase in shutter speed. We might make changes to the camera settings that look like something below:


ISOShutter speedAperture
1001/1008.0
1001/2005.6
2001/4005.6
4001/8005.6


These photos were shot at something like 1/400 of a second. A bit faster would have helped capture the action even better.


In Auto mode the camera would have set the first setting and we would have been very disapointed because our surfing star would have been blurry and in a not good way in every photo (ok I know not many in our family will be surfing stars but these are the photos I have taken that I have to work with). Of course there are other times when blur can be good. These are instances where you want to imply motion....

These photos were shot at much slower shutter speeds.


The reason that I have put the largest aperture at 5.6 is because this is ussualy the largest size available for many of the kit lenses and less expensive lenses. So what did we do to get that increase in shutter speed that we needed once when we had the aperture wide open? We moved to the next option, we increased the ISO or the sensitivity. Here is a quick break down of how aperture affects the shutter speed.


Change in shutter speedArperture (1 stop increments)
1X32
2X22
4X16
8X11
16X8
32X5.6
64X4.0
128X2.8
256X2.0


If you were using Auto mode the camera may have chosen to use an aperture of 8.0 but if you could open your aperture to 5.6 you would be able to increase the shutter speed 2x faster!

The other possible way to increase the shutter speed is to increase the sensitivity in the camera or the ISO. ISO is a little more straight forward, every doubling of ISO yeilds a double in shutter speed. This also works the other way around a double in ISO will allow you to close up your aperture a stop (the steps in the change of aperture above are often described as stops).

So why not open up the aperture as wide open as possible all the time? Because aperture affects something else called depth of field. Have you ever seen that photo where the subject was in focus but the back ground was really blurry (this affect is called bokeh)? This is due to a large aperture. This is popular for portrait type of work but not for landscape photos. Stopping down the aperture will decrease this affect and bring more items in the picture into focus as in the examples below.


This is an example of the aperature wide open with the kit lense on my D40 (something like f4.2):


Same picture but the aperature is stopped down to something like f22.


Ya I know this pictures will not win any awards but it is just as an example. Terry's hammock is not an eye catching architectual feature. I think it helps to have a visual as to how aperture affects the depth of field. Pop question, if you are taking a photo of the grand canyon what aperture would you prefer to use?


So this may bring up another question: Then why not bump the ISO to 1600 and leave it there all the time. Well when we bump up the ISO we also bump up the noise in a picture. Often times this noise is just not acceptable. I never use ISO 1600 on my camera due to the amount of noise it introduces. The noise issue is especially true for small point and shoot types of cameras. Of course there are times that getting a noisey picture is better than no picture. And if you get creative there may be times you want that blur thing going!

So lets recap some of the useful tidbits we have learned or remembered:


  • Learning to use the camera is one of the ways to get better pictures. Experiment with different settings and see what you think.


  • To really get control and allow those creative juices to flow, try to think about what you want to achieve and use one of those four magic modes we talked about to get you there. A large number in aperture gives a greater depth of field (remember that big numbers mean a smaller size) and higher shutter speeds freeze action. Small aperture numbers (think big hole) gets that nice blurry background thing going and slow shutter speeds give blur due to motion which can be used to imply motion.


  • Exposure is due to a combination of three things: Aperture, Shutter speed and ISO.

Last thing is to remember to have fun, and remember digital is free so snap away. If you aren't shooting digital I can't really say much as I have no film experience. Happy shooting

Sunday, August 19, 2007

How to take better portraits now!

OK, so these aren't the most recent of pictures though you would never know it. Well Clayton does look chubbier and younger, but its just the camera. You know a camera always adds 2 pounds of baby fat.

After talking to some family and friends, I have decided to give small tidbits on how to improve your photos. Nothing difficult or drastic, but instead I will give hints that even a caveman would think to do. I have decided to do so here and there in the posts that I plan to share. The tips that I will be giving are all simple things. I have only been into photography for a short time and well this is a little of the blind leading the blinder. Hopefully as I improve my photography I can pass on things that will help you improve yours? This time we will talk about how to make better portraits.....


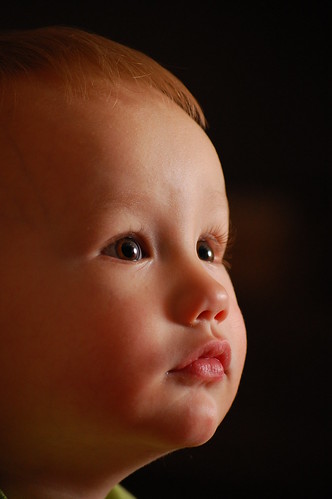
Notice in all the pictures that I am showing as examples, Clayton is not looking at the camera. I like this affect as it gives a different view from what usual portraits do. This is more still life type of photography

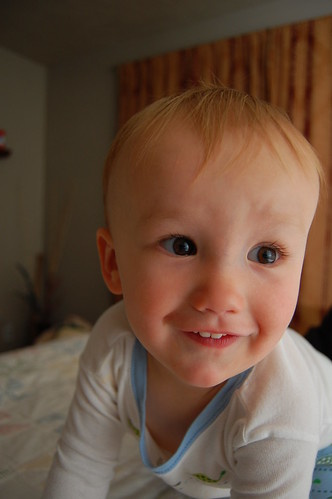
One of the really simple things that you can do to improve pictures of people is to fill the picture with the subject. Remove distractions if possible and get in as close as you comfortably can to the subject. This can be a little easier with a good telephoto lens but if you don't have one move your body closer. Notice in these pictures of my son who I love, that he is the subject of the picture. He is the story being told. There is no other story because are no distractions to pull your attention from the subject.....


It always helps to try to get pictures from interesting points of view. When I say this I mean points of view that are different from how we usually see people or even things. With Clayton I either try to get down to his level (remember he is little so we ussualy don't see him at his level) so we are seeing eye to eye as seen in the pictures below (if he was looking me in the eye). This may mean getting down on your knees or even laying down to take the picture. Oh, and don't be afraid of tilting your camera to really fill the frame. The pictures above I tried to find a pleasing but different point of view to capture images from.

Getting your child making great faces is also helpful. For this you will have to learn to be a little creative. Make taking the picture a game, or take the pictures while you distract them with something else. The picture below was taken while I was wrestling with Clayton on the bed. It is really one of my all time favorite.....


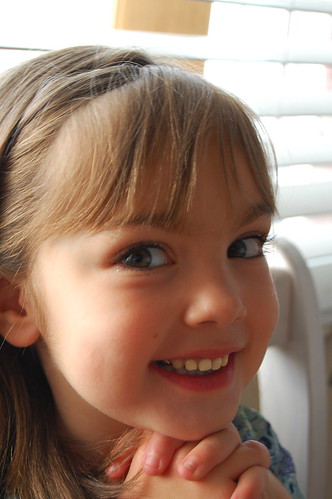
With children that are a little older you can get them to pose for you (sometimes). One trick that I have learned is to take a picture of the child and show them the picture on the back of the camera. Most people like the attention and like to look at themselves. Children really aren't all that different. Just beware some children (especially little girls) will not want you to stop taking their picture (like our neighbor's daughter Kayla).....


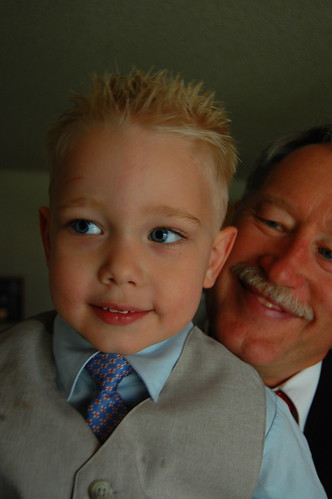
Others may be flattered enough that you can get that one great image (like the same neighbor's son Buddy).

Sometimes it takes double teaming to get those great photos. Make taking the pictures a game and you may really get a few great photos (this is my Uncle Robert tag teaming to get a picture of my little cousin Aaron)......


One last thing, notice that I grouped several images that were similar but slightly different. This really creates interest as we automatically begin to compare photos.

To recap the tips:
  • Fill the frame with the subject (get in close if necessary).
  • Frame the images from interesting points of view (get on your tummy like a snake if necessary).
  • Make taking pictures fun for the subject (be creative and tag team if necessary).