Showing posts with label Images. Show all posts

Thursday, September 9, 2010

Read a book

Micro-Stock photography is mainly about lifestyles. When my in-laws said they wanted photos I automatically started thinking how I could run dual purpose photos (something my in-laws would like and something I could use for stock). I think I actually captured the lifestyle and personality of my father-in-law and mother-in-law. They are both avid readers, and very affectionate (my wife and I see more of that affection since we live closer than most of the family).


ISO 100, 85 mm, 1/250 sec, F 2.8


The camera settings are listed for the photo geek that may run across this post. I have the same picture both looking, neither looking etc. But this one just seems to capture more of what I feel is their personalities. The image is pretty much straight out of camera which seems to be best for stock.

Wednesday, April 8, 2009

EXIF tip

Here is a quick tip! Many photos on the web contain EXIF data intact. EXIF (exchangeable image file format) is part of a photo that contains information such as shutter speed, aperture, ISO, focal length, camera used, lens used and the list goes on and on.

I like to use Opanda exif viewer (its free). The EXIF viewer only works if the photo you are looking at has EXIF intact. Some processing removes the EXIF data.

Once Opanda is installed, an option appears on images when you right click View EXIF/GPS/IPTC with IExif.


From the EXIF info you can see this image was shot at *F 1.8 *ISO 320 *1/80 sec *Aperture priority *exposure comp +1 *focal length 50mm, plus a whole bunch of other information you wouldn't need to ever know.

There are a lot of other free EXIF viewers out there, find one so you can see what settings were used to get that cool shot you've been eyeing (I know I do)!

Sunday, October 19, 2008

Expecting a girl

It has been busy lately, so this news is a little old...

We are going to have a girl! Hurray! Here is an Ultra Sound from a recent doctor visit...


She is a cutie isn't she! We can't wait to meet her in person (we don't want her to come early, but right on time). She is very active recently as we feel her kicking when ever mom lays down for some sleep (a shadow of what is to come).

Soon Clayton will be a big brother! Clayton knows that Mom is carrying a baby, but I don't think he understands what that means...

Friday, April 4, 2008

House hunting in a market meltdown

We are currently in the market for a home. I know, many would say that right now is not the best time to buy or sell, but the Marx family mantra is buy high sell low...

Which house to buy

There are so many homes for sale but, it doesn't seem that anyone in Utah has heard that there is a housing bubble, that the economy is slipping. Prices are sky high and even when there are four houses right within 50' no one seems to want to drop their price (There are actually 5 for sale signs on that street, each home right next to each other but you can't see the fifth because of the large boulders in the way, it is the house that is unfinished on the left).

We put in an offer on a home further West and North than we originally wanted to go. Everything was just too expensive or we felt that the compromise between what we want and what we could afford was just too great.

The great thing is that the home is older (not old) and is landscaped, there are mature trees, you know all the things that come with homes that are older. The house has plenty of room. Already our heads are spinning with the changes we want to make (remodel the kitchen, bathrooms, master bedroom, add cold storage, change the layout of the main living area, refinish the basement etc).

Wish us luck in finding a home!

Saturday, October 27, 2007

Lighting quality and your photography

This post has been sitting as a draft for months. I decided to finally wrap it up and publish it. Enjoy.....

There are many factors that make a photo great but there is one factor that really is king… Light. Think what the master of light Rembrandt did. His understanding of lighting has inspired many an artist and photographer. So much of photography is dependent on lighting but so many people seem to be confused about how lighting affects their photos. Once you get the basics of lighting down, you will have all the tools to improve your photos and get that look that the really great photographers get (well maybe a lot practice will help a little). You will be able to look at a photo and have a fairly good idea how it was lit and what you need to do to replicate the same look. I have divided lighting into three key aspects that come together to make that perfect image, and because there is so much that can be said about light I will be discussing this topic in a three part series (remember to take any advice I give with that large grain of salt, I am after all the king of BS). The three key components of light are:


  • The relative size of the light source
  • The direction or directions of the light source
  • The coloration of the light source

Good, now we have that out of the way you can be off and running with all the lighting tools you could ever ask for! For those who may want a little more direction read on.....

Relative size of the light source

Have you seen those photos that have that soft appearance, you know the angelic look? Well there are probably several things going on in the picture that give it that feel but one of the leading features is the light source (duh you say). Large sources of light give a much softer look to the photo, where as small sources of light give a harsh look to the subjects of your photo. The bigger the source, the softer the look of the light on your subject as the light fills in the wrinkles and imperfections of the face.

Hey you say I know the perfect light source for soft light.... the sun, it is huge! Well no not exactly, the sun is a large light source but this is where the relative part comes in. If you look at the sun (don't do this, as a photographer your eyes need to stay in tip top shape) it looks fairly small. This happens with any source of light. Move it far away and it becomes smaller (works with people too). Remember we decided that small sources of light give a harsh light. This is why those family portraits we took at the park, in the noon day sun don't look as good as we hoped for. So what to do?

We need a light modifier for the sun. If you see photographers they will often do crazy things to soften the light coming from sun or other sources that aren't ideal.
Take light that comes from a strobe, I personally like to bounce it off of something like a wall or an umbrella, or whatever might be handy. With the sun we don't have many options but there are a few things that we can do...

Cloudy days are great for people pictures. The clouds act like one huge light modifier making our light really soft and purdy. To take full advantage of a cloudy day, try not to show the sky in your photo. Then people won't realize it was a gloomy day. Look how good my little brother and his wife look on a cloudy day.


Move into the shade. Basically you are using reflected light to light your subject when you are in the shade. Light is coming in very diffused from the sky, the mountains, trees, grass.... you get it. This is what makes Clayton look so good in the photo below. Well Ok the light is only 10 percent. The rest is the great genes he got from is mom and dad!

Shoot your pictures early in the morning or late in the evening often called the magic hours by photo enthusiasts. When the sun is low on the horizon two things happen. First the light has to bend to get to you and with that bending the light looks bigger (think back on your experiences with the moon and sun.. they always look biggest when they are on the horizon). Second the light becomes less intense thus light reflecting off of surroundings act as fill light giving a really pleasant feel to the photos.

So you say, I should always try to take photos during the magic hour (near sunset or sunrise) or move into shade to take the photos? Yes.... Well not exactly. Sometimes hard light is good, like when you are taking pictures of a wanted criminal to show your kids. That hard light will make him look meaner and your kids will be that much more afraid of him.

So perhaps there is still some confusion as to why big light is better (when I say big I don't mean strong but big in size). Maybe it is time for a visual.


Ya I know my diagrams are mind botteling (think Will Ferrel in Blades of Glory). You should compare the two diagrams and just think what is really happening? Notice there is one photo where the stick man gets happy.... Ya the one with the bigger light source. That big nose isn't going to stick out like a sore thumb because the the light comes from many directions and fills in all around the nose. You won't notice scars or wrinkles as these well not stick out as much. The photo will be much more pleasant to look at all around.


Well what about taking pictures inside a house? You can really get some great light in your house if you know what to look for (remember a large light source). Now don't eye that desk lamp, think big I mean bigger! Think those big bay windows or other large windows that are located on the north side of the house. Ok maybe the windows are not on the north side of the house but the point is you don't want direct light coming in from the windows but instead you want that diffused light that comes in from that window. Just open the blinds to let the light in and shoot away. In fact some photogs will only shoot with available light because it can look so good.

Here is another available light photo (window light) of Clayton.


I love this photo and it is all available light coming in from the back patio door at Kelly's house. The bad is that the light may not be very strong and due to the low light levels pictures of your hyper kids might turn out blurry (for help on this look back to the post about exposure).

So your photo setup may look like something like this:


Well its time for a pop quiz!

Let’s assume you are taking a picture of your uncle Pinocchio who has a rather large nose (remember that uncle of yours is a chronic liar). He doesn’t want his nose to over power his portrait and he knows you can take his picture and make him look like a million bucks. So, what kind of light do you want to use?

  1. Take his picture in the noon day sun with no clouds in the sky. You can put a really cool mountain in the back ground and no one will even notice his nose because of the great back drop?
  2. Take his picture under a really thick tree that puts you in the shade?
  3. Take his picture in your house using that 5oo watt desk lamp you just bought to light him up like a roman candle?

Hope you said 2! If you passed the quize you are ready to take on the photographic world and show em your stuff!

Next time we will pick up where we left of and talk about the direction of light sources, and the coloring of the light.

Sunday, September 9, 2007

More about taking better pictures: Understanding Exposure & Learning how to use that cool camera!

So I am back with a little more of the blind leading the blind. Everyone ready? Get that cane a moving we are going full steam ahead!

My first tip is to get that camera out of Auto mode as soon as you feel comfortable with how to zoom, and where the shutter button is. Once you take the camera out of auto you are effectively beginning to make decisions about what the photo situation is and what you want the camera to do. Most all cameras have an assortment of controls that work to change settings according to your situation. Try using some of those and see how you like them. For instances if you are photographing fast action events, the sports mode might be the perfect setting for you to use. If you are taking portraits then you could use the portrait setting and tada your camera settings will optimize for a portrait. What does the camera do when you move to those other modes? I really don't know as I never use them but try them out as you may just find they are what you are looking for. I personally am a bit of a control freak. I want my pictures to look a certain way and want to understand completely how to achieve the affect that I want. If this is to much then try out those modes that I talked about. I am positive you will see improvements, and will begin understand better how your camera works and, this is a very good thing.

For those who want to learn a little more read on!

Most cameras have Four special settings that are really all you need. These four settings give you all the creative control you could ever want! Here are the four modes that I use the most:


  • P which is the flexible program mode. This mode sets the exposure automatically (a bit like auto mode) but allows you to change the aperture and shutter speed to any combination that gives your set exposure. This mode is useful as it allows you to control a plethora of other features that you can't access while in Auto mode (more about what aperture and shutter speed are listed in the modes that control those particular items).


  • A or Av which is aperture priority mode. You set the aperture size and the the shutter speed is matched to give correct exposure. Aperture is the size of the hole that lets in light to the sensor in the camera. It functions much like the iris does for for your eyes. A smaller hole lets in less light and a larger hole lets in more light (there are other important functions of the aperture which will be discussed in detail later).


  • S or Tv which is the shutter speed mode. You set the shutter speed and the camera adjusts the aperture to give the correct exposure. This is the amount of time that the sensor is exposed to the light. Unlike our eyes where we allow a continous stream of light the camera captures a frame of light (the sensor is exposed to the scene for a set amount of time). When light is low then we end up with a long amount of time for the shutter to be open. When we have our shutter open for long periods of time blur due to motion may occur. The motion may be from motion of the subject (like an active kid) or from the camera person not holding the camera steady (like someone taking a picture while while suffering from early stages of hypothermia).


  • M which is manual mode. You set aperture and shutter speed, the camera does not change any settings to adjust for exposure (This is the mode I use +75% of the time).

All this information may bring the question: what do you mean by correct exposure? Well this is actually dependent on the photographer. Perhaps it is best to describe it as the brightness (or lack there of) that we see things with our own eyes. Correct exposure would be to make light levels in the photo mimic real life. Sometimes when we chose a different exposure than what we would see with our eyes we get really interesting results.

To understand exposure better here is a little example. Imagine you were to take a picture with your camera in P mode, and your camera reads the correct exposure as:

ISOShutter speedAperture
1001/1008.0


The occassion is your childs surfing match. You know as does everyone that in order to capture the action of a sporting event you should make sure your shutter speed is fast like 1/500 of a second. So what options do we have to increase the shutter speed? If we open up the aperture we can gain shutter speed or we could increase the ISO which would give us an increase in shutter speed. We might make changes to the camera settings that look like something below:


ISOShutter speedAperture
1001/1008.0
1001/2005.6
2001/4005.6
4001/8005.6


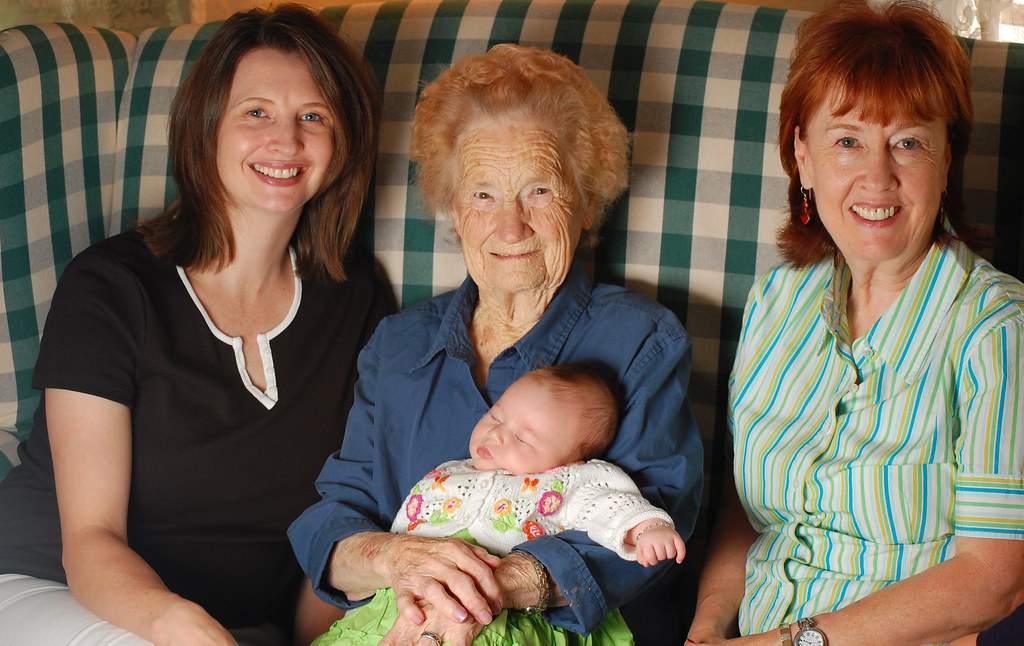
These photos were shot at something like 1/400 of a second. A bit faster would have helped capture the action even better.


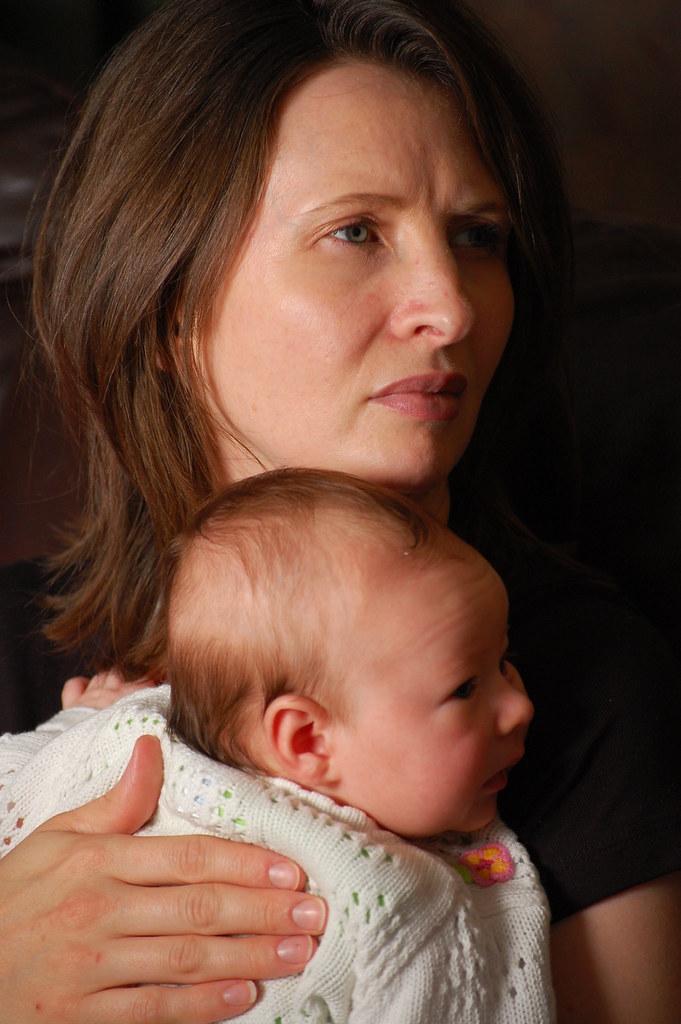
In Auto mode the camera would have set the first setting and we would have been very disapointed because our surfing star would have been blurry and in a not good way in every photo (ok I know not many in our family will be surfing stars but these are the photos I have taken that I have to work with). Of course there are other times when blur can be good. These are instances where you want to imply motion....

These photos were shot at much slower shutter speeds.


The reason that I have put the largest aperture at 5.6 is because this is ussualy the largest size available for many of the kit lenses and less expensive lenses. So what did we do to get that increase in shutter speed that we needed once when we had the aperture wide open? We moved to the next option, we increased the ISO or the sensitivity. Here is a quick break down of how aperture affects the shutter speed.


Change in shutter speedArperture (1 stop increments)
1X32
2X22
4X16
8X11
16X8
32X5.6
64X4.0
128X2.8
256X2.0


If you were using Auto mode the camera may have chosen to use an aperture of 8.0 but if you could open your aperture to 5.6 you would be able to increase the shutter speed 2x faster!

The other possible way to increase the shutter speed is to increase the sensitivity in the camera or the ISO. ISO is a little more straight forward, every doubling of ISO yeilds a double in shutter speed. This also works the other way around a double in ISO will allow you to close up your aperture a stop (the steps in the change of aperture above are often described as stops).

So why not open up the aperture as wide open as possible all the time? Because aperture affects something else called depth of field. Have you ever seen that photo where the subject was in focus but the back ground was really blurry (this affect is called bokeh)? This is due to a large aperture. This is popular for portrait type of work but not for landscape photos. Stopping down the aperture will decrease this affect and bring more items in the picture into focus as in the examples below.


This is an example of the aperature wide open with the kit lense on my D40 (something like f4.2):


Same picture but the aperature is stopped down to something like f22.


Ya I know this pictures will not win any awards but it is just as an example. Terry's hammock is not an eye catching architectual feature. I think it helps to have a visual as to how aperture affects the depth of field. Pop question, if you are taking a photo of the grand canyon what aperture would you prefer to use?


So this may bring up another question: Then why not bump the ISO to 1600 and leave it there all the time. Well when we bump up the ISO we also bump up the noise in a picture. Often times this noise is just not acceptable. I never use ISO 1600 on my camera due to the amount of noise it introduces. The noise issue is especially true for small point and shoot types of cameras. Of course there are times that getting a noisey picture is better than no picture. And if you get creative there may be times you want that blur thing going!

So lets recap some of the useful tidbits we have learned or remembered:


  • Learning to use the camera is one of the ways to get better pictures. Experiment with different settings and see what you think.


  • To really get control and allow those creative juices to flow, try to think about what you want to achieve and use one of those four magic modes we talked about to get you there. A large number in aperture gives a greater depth of field (remember that big numbers mean a smaller size) and higher shutter speeds freeze action. Small aperture numbers (think big hole) gets that nice blurry background thing going and slow shutter speeds give blur due to motion which can be used to imply motion.


  • Exposure is due to a combination of three things: Aperture, Shutter speed and ISO.

Last thing is to remember to have fun, and remember digital is free so snap away. If you aren't shooting digital I can't really say much as I have no film experience. Happy shooting

Friday, August 24, 2007

Isabelle's baby blessing part 2

There was a lot of the family at the blessing. Isabelle, you should know that you are very loved! Nana and Kelly weren't the only ones to squeeze you........


Isabelle got a lot of love........


Veronica began to think that she should have another baby......


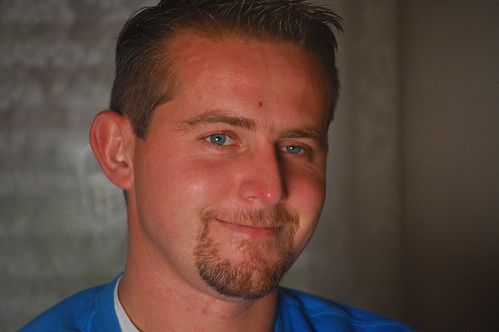
There were a lot of cousins running around at Nana and Papa's house. That Damon is one cute little boy. Look at those eyes!


You can't forget Abby......


Elisha just layed on the couch like a bump on a log. At least she is one cute little bump!


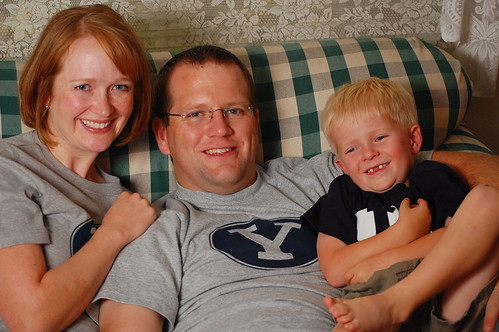
You know that Travis was having fun.
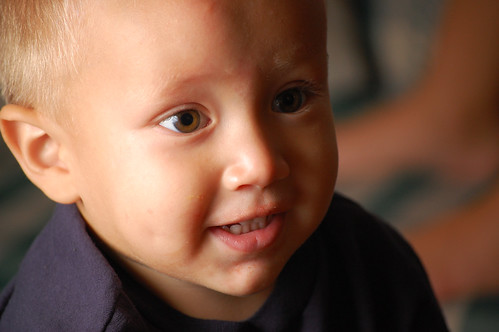


Hey the adults were having fun too.


It has been a long time for some of us since our last real visit. With everyone living in different states it is rare when we actually get to talk face to face. If there is one thing that Anji's side of the family likes to do, it's talk.


And kiss and squeeze and hug......


Grandpa and Grandma sat back and watched all the action! That was enough to wear them out.


Dani tried to scare people away by doing her I am going crazy look. Give her a break she has twins that are very mobile and have super quick hands!


After a while the Dani, Jason and Jack settled down and relaxed.


There were a lot of mother daughter duos.


There were father, daughter duos also.


You can't forget the twins. They played hard and ate well....


Once the night time began to move in on everyone you could see how worn out from the days work. We all started dropping off like flies.

Thursday, August 23, 2007

Isabelle's baby blessing

Who am I kidding. This is all about pictures, not pictures turned into a video? I must have lost my mind. If you liked the video and want it, I can send you the high res version. I didn't like how the video came out all grainy and tiny and blury, and horrible and....... You get the picture (pun intended).


So to the good stuff, Isabelle...........


Monte and Kelly do good work, don't you think?


Ya I upped the sizes of these photos. She just looks so good I had to. Beside I am getting tired of the same old thing every time. Here is Nana holding her precious new grandchild. I think Nana will be happy when everyone leaves so she can get back to her routine, but at the same time I know that she will miss all the kids dearly. At least she has one good daughter and son in law who stayed behind to take care of their duties to their parents! Make sure you click the photos. most (this post only) are downloaded at a higher resolution, so you can open them up and get a clearer larger image. The blogspot software doesn't do a good job of sizing so I ussually load the photos up at the size I want them to appear, but I thought that some people would like a larger version (still not full res).


Here is a much better generation photo than that little blury video thing had............


What a great looking bunch of women. Four generations........


Kelly didn't pose she is far to busy for me but I did manage to catch a couple of mother daughter duos. When she wasn't paying attention.


Keep tuned as there will be more to come.